I have a KWC Domo kitchen faucet, which has been working well since 1991, but recently the handle started to bind and I knew it needed a replacement ceramic cartridge. Usually when I want to take something apart, I can find many web pages and videos showing how, but not this time. What I find instead is a series of questions from users on a site where you pay to get a plumber's advice, but the advice I saw was all wrong! Now that I've finished the job, I decided to create a page showing how it's done and, more important, what tools you'll need. While I show a KWC Domo faucet here, the instructions also apply to many other KWC models, including Divo, Divo-Arco, Gastro, Marlino, Orcino, Neodomo and more.
Added July 2013: Some people have written me to ask about the problem of the spout binding as you swivel it. I have the fix for that too.
Added September 2015: More tips, and two KWC documents
Tools needed:
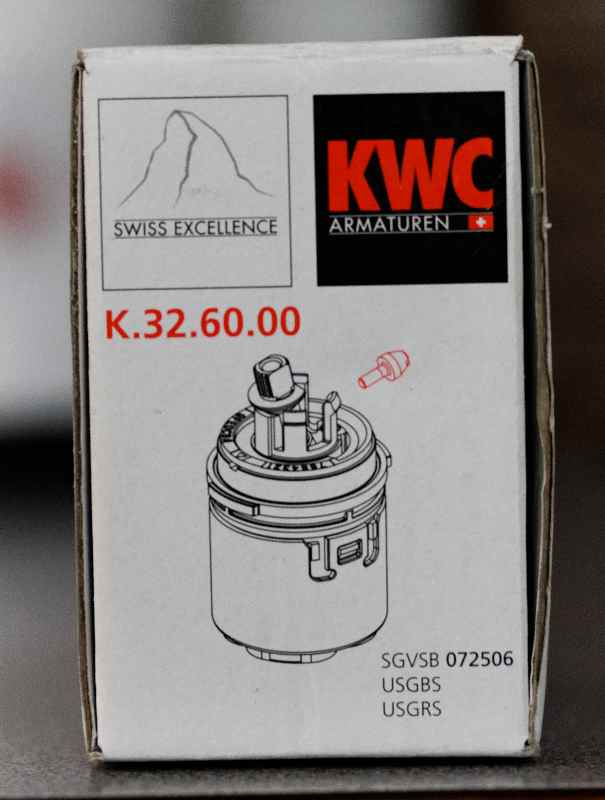
First of all, you will need the replacement cartridge. For the Domo and most other KWC single-handle kitchen faucets, this is KWC part number K.32.60.00. (this replaces the older K.32.60.02) I bought mine on eBay for about $70 plus shipping, but they are available many places. The box and cartridge look like this:
Your old cartridge may look a bit different. In particular, my 1991 cartridge was all ceramic instead of the plastic body shown here. Note on the box picture the cone-headed screw shown in red. This comes in a separate plastic bag in the box - you may be tempted to think it's trash, so hold onto it until you determine if you need it. I'll get to that later. The cartridge also comes with a replacement handle screw.
Shut off the water feed to the faucet!
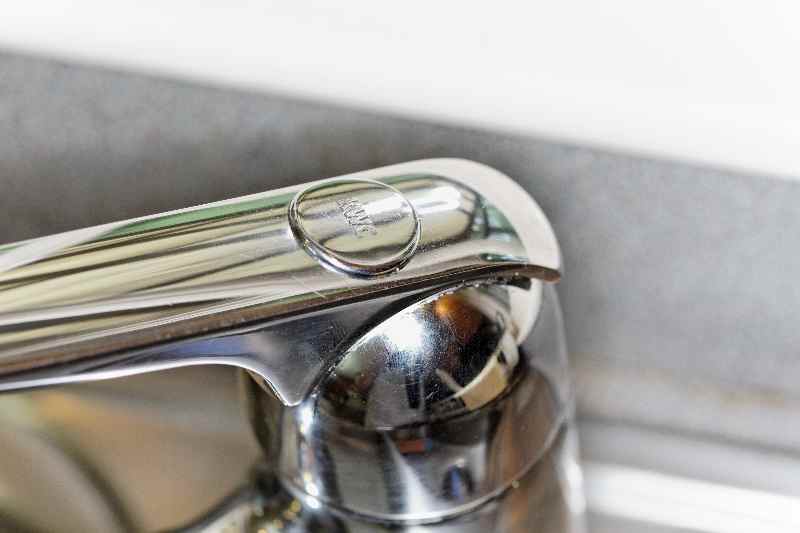
Using your fingernails, gently pry off the chromed plastic "KWC" cap on the faucet handle, revealing a screw underneath.
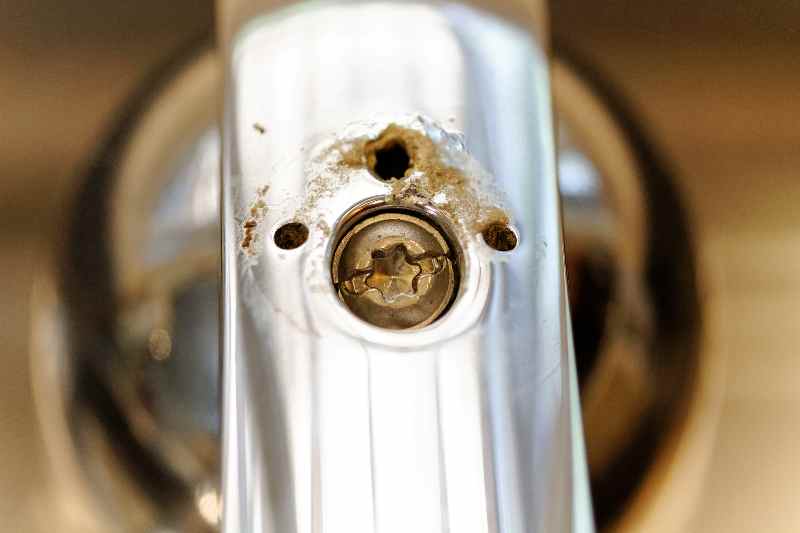
Using the Torx T20 driver, remove the screw and then pull the handle off. You should now see something like this:
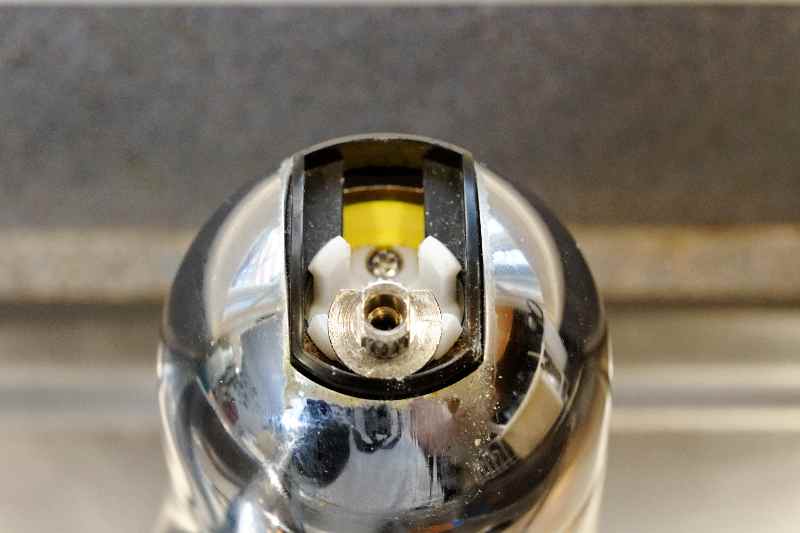
Using your hand, pull up on the chromed plastic cap to remove it. It is just pressed on and should come off with a bit of wiggling. You should now see something like this:
(Note that in these photos I show the new cartridge already in place - yours may look a bit different.)
Fit a 42mm or 1-5/8" socket over the hex cartridge retainer nut and with your socket wrench, turn counterclockwise to loosen the nut. In my case, it took the use of a "breaker bar" that I normally use for tire changing. You might be tempted to use an adjustable wrench or "Channel-Lock" type pliers, but I'd recommend against it. Feel free to try them at first if you don't have the socket. I would definitely recommend against Vise-Grip type locking pliers here, as there isn't much to grip and you might deform the nut. If you find that the faucet base rotates, you can swivel the spout all the way to the left and apply pressure to hold it in place.
If you find that the nut does not loosen readily, spray the penetrating oil around the edges of the nut and let it sit for a couple of minutes, then try again.
Some people tell me that a 1-5/8" socket doesn't fit right. The real size is 42mm but I found that difficult to source and a 1-5/8" worked for me.
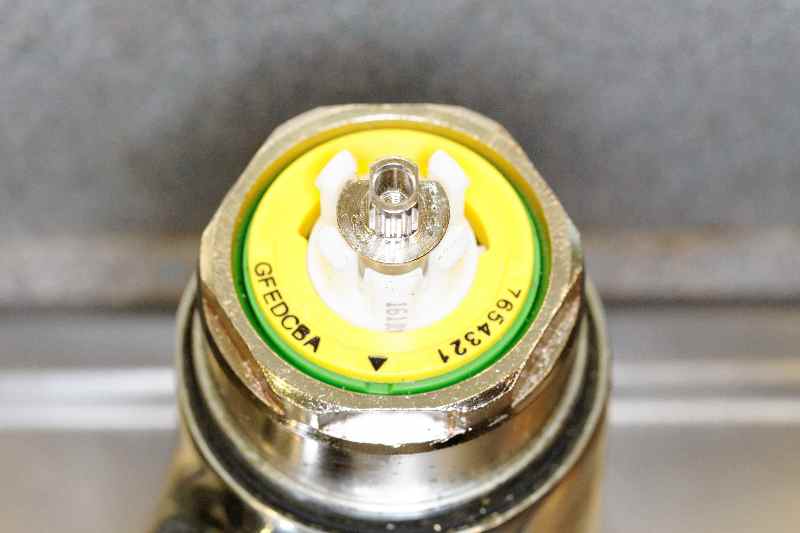
Once loose, spin off the nut and you'll see this:
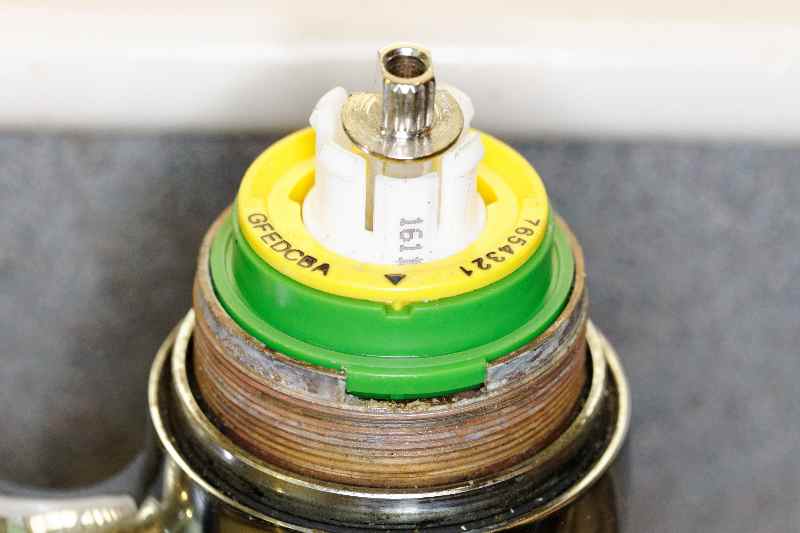
Using a flat-blade screwdriver, gently pry up on the cartridge body at the tabs (there's one on the other side), working it carefully until the cartridge loosens and pulls out. Use a paper towel to sop up any water remaining in the valve body and check for remnants of gasket or other things that would interfere with replacement. In my case, the gasket on the bottom of the cartridge stuck to the valve body and I had to peel it off. Also, there should have been an O-ring on the old cartridge, but I found no trace of it!
Remember that cone-head screw? Look at the box and find your valve model. See if it shows the screw being placed or not (with a slash through it). This screws into the back of the valve stem (use a flat-blade screwdriver) and hits the flow limit stop screw. Some models use this, some do not. While the box suggested that my pre-2004 Domo needed the screw, I found that with it in place I could not install the handle, so I took it out again. If you need the cone-head screw, insert it into the new stem. It isn't hard to remove if you find you have to later.
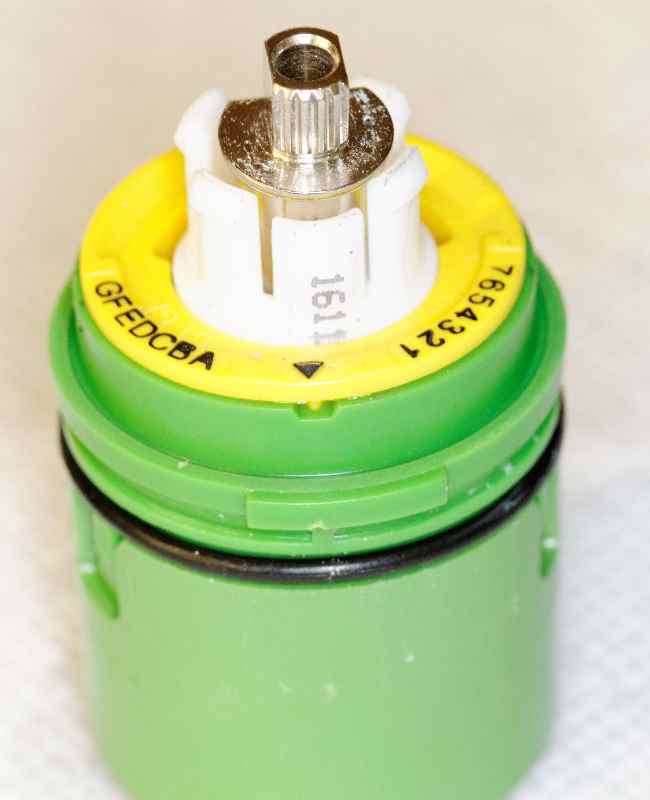
Apply a thin film of the silicone grease to the O-ring on the new cartridge and the gasket on the cartridge bottom. Insert the new cartridge into the valve body, making sure that the black triangle on the (yellow here) ring points front. Push the cartridge down into the body firmly, making sure the tabs align with the slots.
In order to make life easier for whoever has to do this in the future, I recommend coating the threads where the retainer nut screws down with a thin film of anti-seize compound. This will help prevent the nut binding on the threads and will also make it easier to replace the nut. Now replace the retainer nut and tighten firmly using your wrench. You don't need to go crazy here - this will seat the cartridge against the valve body.
You can now choose to set a maximum flow rate or temperature swing. The flow rate is set by backing off the screw in the body of the cartridge (not the cone-head screw). The temperature limit is set by adjusting the ring with the letters and numbers - the documents below can help. The KWC web site used to have documents for older versions of the faucets, but now it's just the newer ones. You may still find it helpful. First go to the Technical Information page and open document 209880 for pre-2013 models or 209884 for 2013 and later models. It isn't clear to me if 209880 covers all the old models (my Domo was from 1991!) Note that if you have a popup or ad blocker enabled the list of documents may not display.
I also have two KWC documents that came with my faucet. The first covers installation and troubleshooting, the second has a parts list for "old" and "new" variants of the Domo. You may find these helpful. Both are PDF.
KWC Domo Installation Instructions
KWC Domo Old and New Parts List
While you have the cap off, you might want to perform an added step to prevent (or fix) binding of the spout swivel. If you've come here just to fix that problem, you should follow the above steps to remove the handle and cap, but don't need to remove the nut. In addition to the T20 Torx driver and silicone grease listed above, you will also need a T15 Torx driver.
Swivel the spout all the way to the left or right. At the back of the spout may be a screw - use the T15 driver to remove it. (In later years, the screw was removed.) With your hands, grab the spout assembly and pull up firmly while you twist it. It will go up about 3/4 inch, enough to reveal an O-ring around the fixture base. Wipe this off with a paper towel and then generously grease the O-ring. Push the spout back down and swivel it to make sure it doesn't bind. Reinstall the screw, making sure that the hole for the screw is over the slot in the fixture base (I found it helpful to shine a flashlight in the hole to see it.) If you don't get this right, the spout won't move at all.
These instructions have given people the most problem. Ideally you'd like to pull off the entire body but I had trouble doing that. You may have to remove the hose to do that, and this too can be problematic. See the KWC documents above for official instructions that may help.
Replace the chrome plastic cap - see picture above for orientation. Push the handle onto the valve stem and secure with the screw (use the new one if you like). I suggest at this point you make sure the handle moves freely and doesn't bind. Turn the water back on and check for proper operation. If everything is satisfactory, reinstall the "KWC" logo cap over the screw and you're done!
If you found this useful and would like to show thanks, a donation in any amount to Kitty Angels, the no-kill cat shelter I volunteer for, would be appreciated.
Copyright © 2012-2017 Steve Lionel